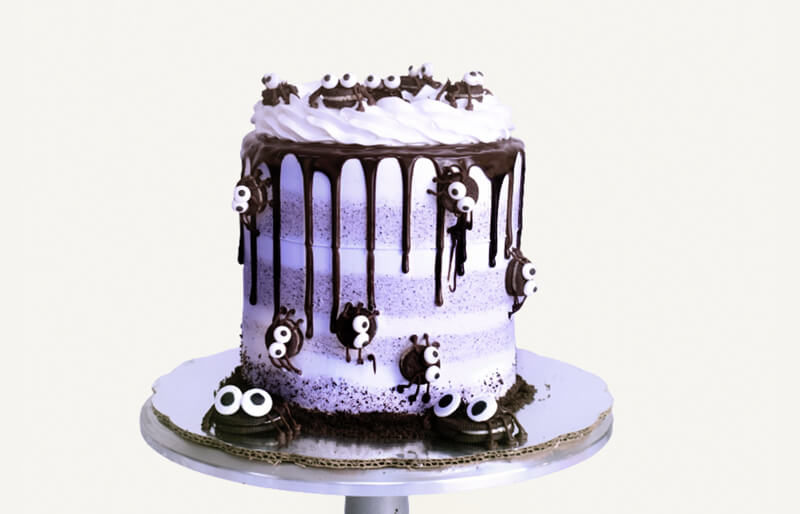
Spooky Spiders

We've baked up some BOO-tiful inspiration to help you dress up your bakery this Halloween

placeholder

DIFFICULTY Easy to Medium

Rich’s® Chocolate Biscuit Dough
Vanilla Flavoured Bettercreme®
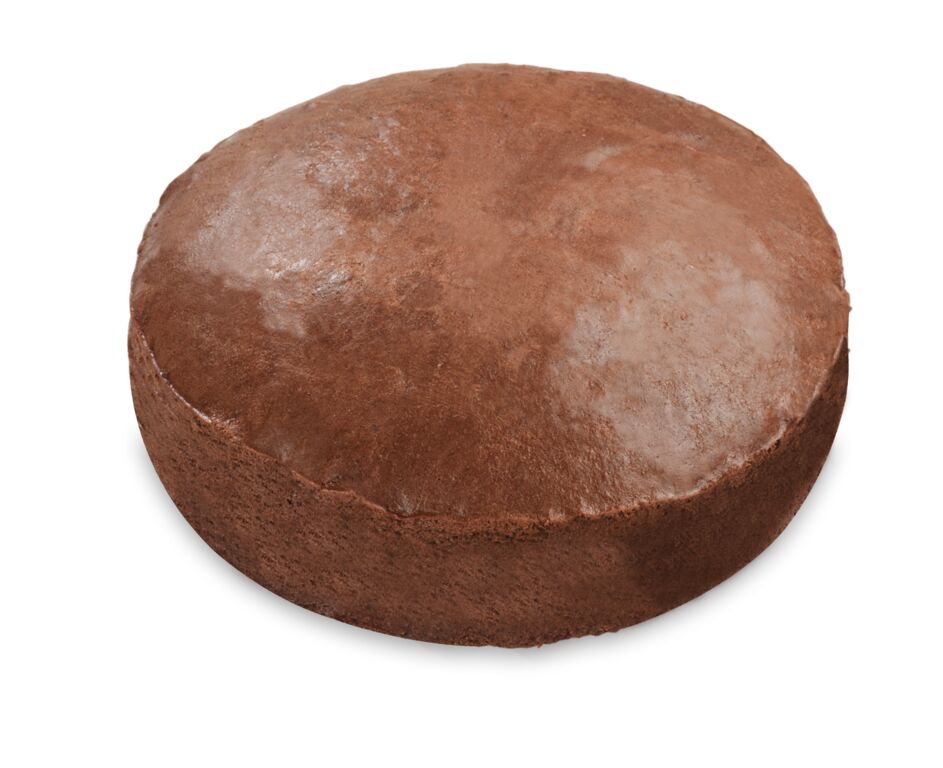
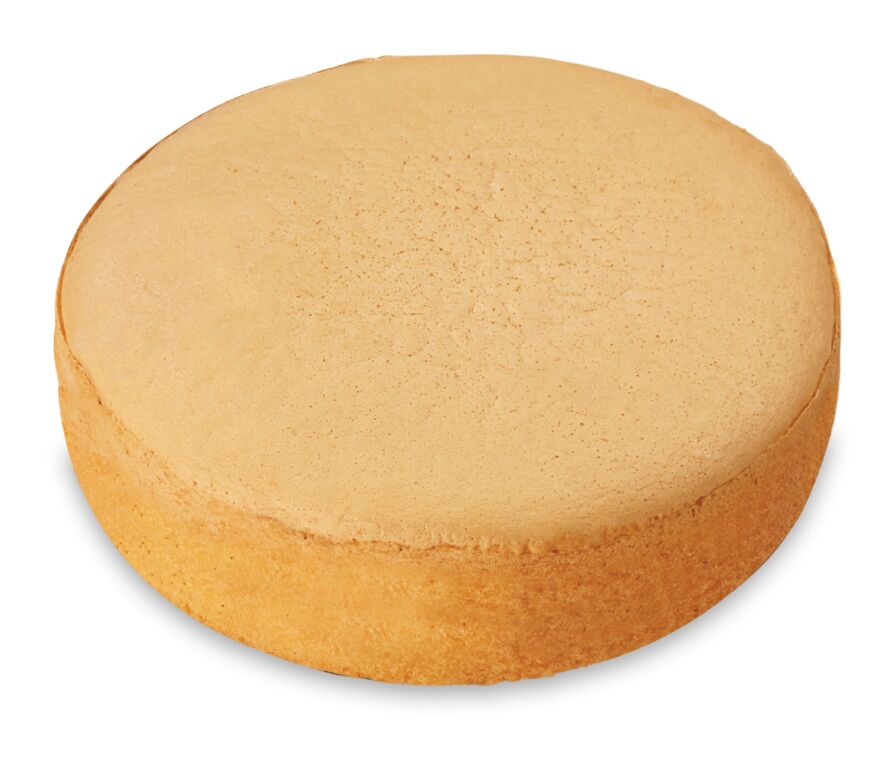
2 6” Rich’s® Chocolate or Vanilla Sponges
Purple Flavoured Gel Colours
Dark Chocolate Ganaché

For The Spider

  1. Begin by deciding how many small and large spiders you would like on your cake, then defrost the correct amount of Rich’s® chocolate biscuit doughs.
  2. NB: don’t forget you need a bit extra to crush to decorate the base of the cake.

  3. For the small spiders cut the biscuit pucks into quarters.
  4. Roll each quarter into a small ball and flatten to half a centimetre.
  5. For the large spiders, simply flatten the pucks.
  6. NB: each spider needs two biscuit rounds.

  7. Bake the biscuits and cool.
  8. Sandwich the matching biscuit sizes together using Vanilla Flavoured Bettercreme®.
  9. Set aside for use later.


For The Cake

  1. Prepare two 6” Rich’s® chocolate or vanilla sponges.
  2. Fill each layer with Vanilla Flavoured Bettercreme® to create a four layer cake.
  3. Ice the top of the cake white using Vanilla Flavoured Bettercreme®.
  4. Fill a piping bag fitted with a plain round nozzle with Vanilla Flavoured Bettercreme® and another with purple coloured crème.
  5. Pipe alternating coloured rings around the cake.
  6. Use a metal scraper to smooth the sides.
  7. Apply crushed chocolate biscuits around the base border of the cake.
  8. Drip chocolate ganache around the edge of the cake.
  9. Pipe a rope border around the top of the cake.


To Decorate

  1. Fill a paper piping bag with Vanilla Flavoured Bettercreme® and pipe two dollops towards the front of each sandwiched biscuit.
  2. Fill a paper piping bag with chocolate ganache and pipe a smaller dot in the centre for eyes.
  3. Firmly place your sandwiched biscuits on the cake and using the ganache pipe eight legs on each biscuit to create a spider.